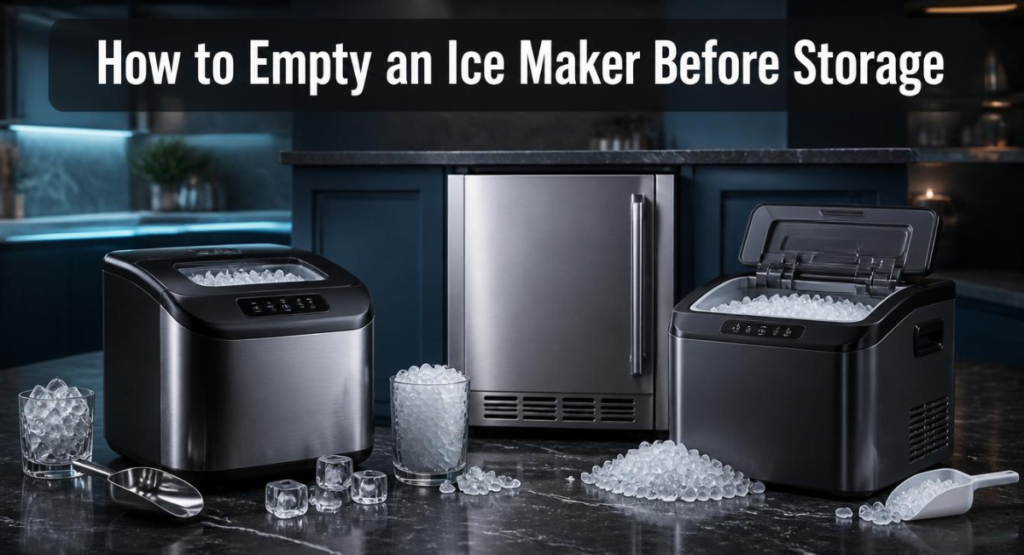
If you’re putting your ice maker away for the season — whether it’s a portable countertop unit heading into a closet, an RV ice maker before winter storage, or a built-in machine in a vacation home you’re closing up — knowing how to empty an ice maker before storage properly is the single most important thing you can do to prevent damage. Skip this step, and you’re risking cracked water lines, moldy ice bins, foul odors, and a machine that simply won’t turn on when you need it again.
I’ve put together this guide after digging through manufacturer service documents, commercial ice machine maintenance procedures, and real troubleshooting threads from RV owners who learned the hard way. Below, you’ll find the exact process for portable, countertop, built-in, and RV ice makers, plus the mistakes that cause the most expensive repairs.
Table of Contents
Why Emptying an Ice Maker Before Storage Actually Matters
Water left inside an ice maker doesn’t just sit there harmlessly. Two things happen:
- Freezing damage. Water expands as it freezes. Any water trapped in a reservoir, pump, valve, or line can crack the component it’s sitting in once temperatures drop below 32°F (0°C). This is true whether the unit is in an unheated garage, an RV bay, or an outdoor kitchen.
- Stagnant water problems. Even in mild climates, standing water left in a reservoir for weeks or months breeds bacteria, mold, and mildew — which is why an ice maker that sat in storage often smells musty or produces bad-tasting ice the first few batches after it’s powered back on.
Commercial kitchens deal with this at scale every year. As one ice machine industry executive put it, water left inside a machine that then drops below freezing puts every part it touches at risk of cracking. The same physics apply to the countertop or under-counter unit in your home — just on a smaller scale.
What You’ll Need
- Phillips or flathead screwdriver (for models with a drain plug)
- A towel or shallow pan to catch residual water
- A soft brush or ice maker cleaning solution (for the pre-storage clean)
- Compressed air canister (optional, for built-in/RV units with water lines)
- RV/marine-safe antifreeze — only if your specific manufacturer instructions call for it (see the warning below)
How to Empty a Portable or Countertop Ice Maker Before Storage
This is the most common scenario for home users, and thankfully the simplest.
- Unplug the unit and let any ice already in the bin finish melting, or scoop it out.
- Run the drain cycle. Most portable ice makers have a drain plug on the back or bottom. Remove it over a sink or shallow pan and let all the water empty out completely.
- Tilt the unit gently to pour out any water that doesn’t reach the drain hole — this is where most people miss residual water sitting in the bottom corners of the reservoir.
- Wipe down the interior with a soft cloth. If there’s any mineral buildup, this is a good time to run a quick descaling cycle before storage — a fully clean machine starts up far more reliably than one with old mineral deposits sitting in the lines.
- Leave the lid open for several hours (or overnight) so the interior can air-dry completely before you close it up. Sealing in any trapped moisture is what leads to musty smells later.
- Store upright, never on its side, in a spot that stays above freezing if at all possible.
If your countertop unit makes nugget or crushed ice, the reservoir shape is a little different, but the same drain-tilt-dry process applies — see our roundup of the best crushed ice makers for home use if you’re comparing models before your next purchase.
How to Empty a Built-In or Under-Counter Ice Maker
Built-in units (like those from GE, Sub-Zero, and similar undercounter brands) have more plumbing involved, so the process is a bit more involved and closer to true “winterizing.”
- Run the cleaning cycle described in your owner’s manual first — draining a dirty system just seals contaminants into the lines.
- Turn the ice maker off using the control panel, then shut off the water supply at the valve.
- Locate and remove the drain plug, typically at the back of the ice storage bin, and let the reservoir fully drain.
- Disconnect the water line running from the water valve to the ice maker. This is the step people skip most often — simply shutting off the water isn’t enough, because water already inside that line will still freeze and crack the tubing if the unit sits in an unheated space.
- Reconnect the line once it’s fully drained, so nothing is left hanging loose or exposed to dust.
- Unplug the unit.
Some undercounter models with a drain pump call for a small amount of RV-safe antifreeze poured directly into the drain after the reservoir empties — this protects the pump itself from freeze damage. Not every model needs this step, so check your specific manual before adding anything to the system.
If you’re not sure where your model’s drain plug or manual cycle button is located, it’s worth digging up the original documentation — our GE Profile ice maker manual guide is a good example of the kind of setup and troubleshooting detail to look for.
⚠️ Important: Not every manufacturer allows antifreeze. Some explicitly warn against using any antifreeze in the ice maker or water line at all, because it can contaminate the system or damage seals not designed for it. Automotive antifreeze should never be used under any circumstances — it’s toxic and isn’t approved for anything that touches drinking water or ice. Always check your specific brand’s guidance before adding anything to the line.
How to Empty an RV Ice Maker Before Storage
RV ice makers are their own challenge because there’s usually no visible drain valve on the unit itself — the water line runs behind the refrigerator, out of easy reach.
- Many RV ice makers have a manual cycle button inside the freezer compartment, often tucked behind the ice tray where you’ll need a small mirror to spot it the first time.
- To purge the line, either blow compressed air through the water system or run RV antifreeze through it (per your RV’s winterizing instructions), then press the manual cycle button repeatedly — usually 5 to 6 times — so the ice maker draws fresh air or antifreeze through the line and fully purges any remaining water.
- If your model has no accessible manual button, the alternative is disconnecting the water line at the nearest fitting (often under a slide-out) and letting it drain by gravity, then cycling the unit once power is restored to release any trapped pressure.
- When de-winterizing in spring, reverse the process: cycle the ice maker repeatedly until the antifreeze taste is completely gone and only fresh water is coming through.
If your RV’s manual doesn’t mention the ice maker at all (a surprisingly common gap), it’s worth asking a dealer to check whether a manual override switch can be installed near the front of the fridge — it saves you from removing the entire refrigerator every single season just to reach the solenoid.
Common Mistakes That Cause Damage
- Assuming “off” means “empty.” Turning off the unit or shutting off the water supply does nothing for water already sitting inside the reservoir, pump, or lines.
- Skipping the water line disconnect. This single hose is responsible for the majority of freeze-crack repairs on built-in units.
- Storing a wet, unclean unit. Trapped moisture plus leftover mineral or ice residue is exactly what produces mold and odor complaints when the machine comes back out of storage.
- Using the wrong antifreeze. Automotive antifreeze is toxic and must never go anywhere near an ice maker’s water system — RV/marine-grade, potable-safe antifreeze is the only acceptable option, and only when your manufacturer specifically calls for it.
- Leaving it outdoors unprotected. Even winterized units left outside are exposed to snow intrusion (since most ice makers aren’t fully airtight), condenser damage, and theft risk from the copper components inside.
This last point matters even more for larger operations. Seasonal restaurants and bars closing for the winter face the same freeze risk on a much bigger scale, and Total Food Service’s commercial ice machine winterizing guide walks through the CO2 blow-out process technicians use on high-volume machines — useful reading if you’re storing anything beyond a home unit.
Frequently Asked Questions
Do I need to unplug my ice maker before storing it?
Yes. Beyond saving standby power, unplugging prevents the compressor or ice-making cycle from accidentally triggering while the unit is empty and dry.
Can I just leave a little water in the reservoir?
No — even small amounts of standing water can freeze and crack plastic components, or turn stagnant and start growing bacteria within days.
How long can an ice maker sit in storage once it’s properly emptied?
A fully drained, clean, and dry ice maker can typically sit for an entire off-season (months) without issue, as long as it’s kept somewhere reasonably dry. Extended total disuse over multiple years, however, can still shorten a unit’s lifespan even when it’s been emptied correctly.
Should I remove the water filter before storing my ice maker?
Yes, for built-in units — remove and store filters separately, and plan on installing a fresh filter when you bring the unit back into service.
What temperature is too cold for a stored ice maker?
Most manufacturers rate their units to run safely only between roughly 60–90°F. Anything below freezing risks internal components even when the unit is powered off, which is exactly why draining the system beforehand matters so much.
Final Thoughts
Emptying an ice maker before storage takes fifteen minutes but saves you from repairs, mold, and a machine that won’t cooperate when you need ice again. The steps are simple: drain it, disconnect and clear the water line, clean it, dry it completely, and store it somewhere that won’t freeze if you can help it. Follow the process for your specific type of unit above, and your ice maker will be ready to go the moment you plug it back in.
If your unit is due for a deep clean before it goes into storage, our full walkthrough on how to descale an ice maker covers the process step-by-step. And if you’re shopping for a new unit for next season, check out our picks for the best outdoor ice makers for summer parties and patios or our breakdown of what size commercial ice maker you actually need.
Curious what kind of machine handles high-volume, constant-use demand without ever needing to go into storage? Our piece on what ice maker Chick-fil-A actually uses breaks down the commercial-grade nugget ice machines behind it, and the home alternatives that come closest.
For manufacturer-specific instructions, see GE’s official ice maker winterizing procedure and Sub-Zero’s winterizing guidance, both of which explain manufacturer-specific antifreeze and water-line requirements in more detail.
Have questions about your specific ice maker model? Reach out to us here — we’re happy to help you figure out the right storage steps for your machine. Want to know more about who’s behind these guides? Read more about us here.